
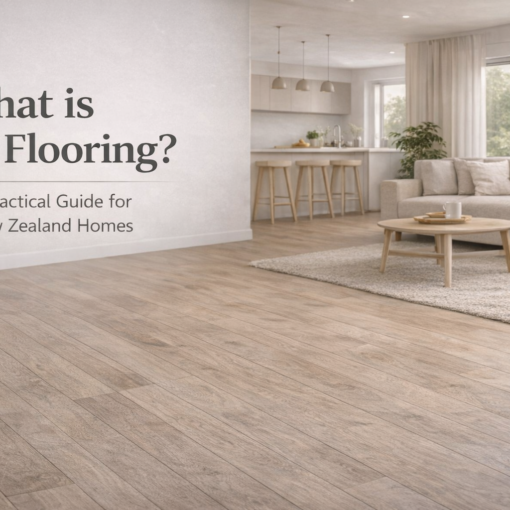
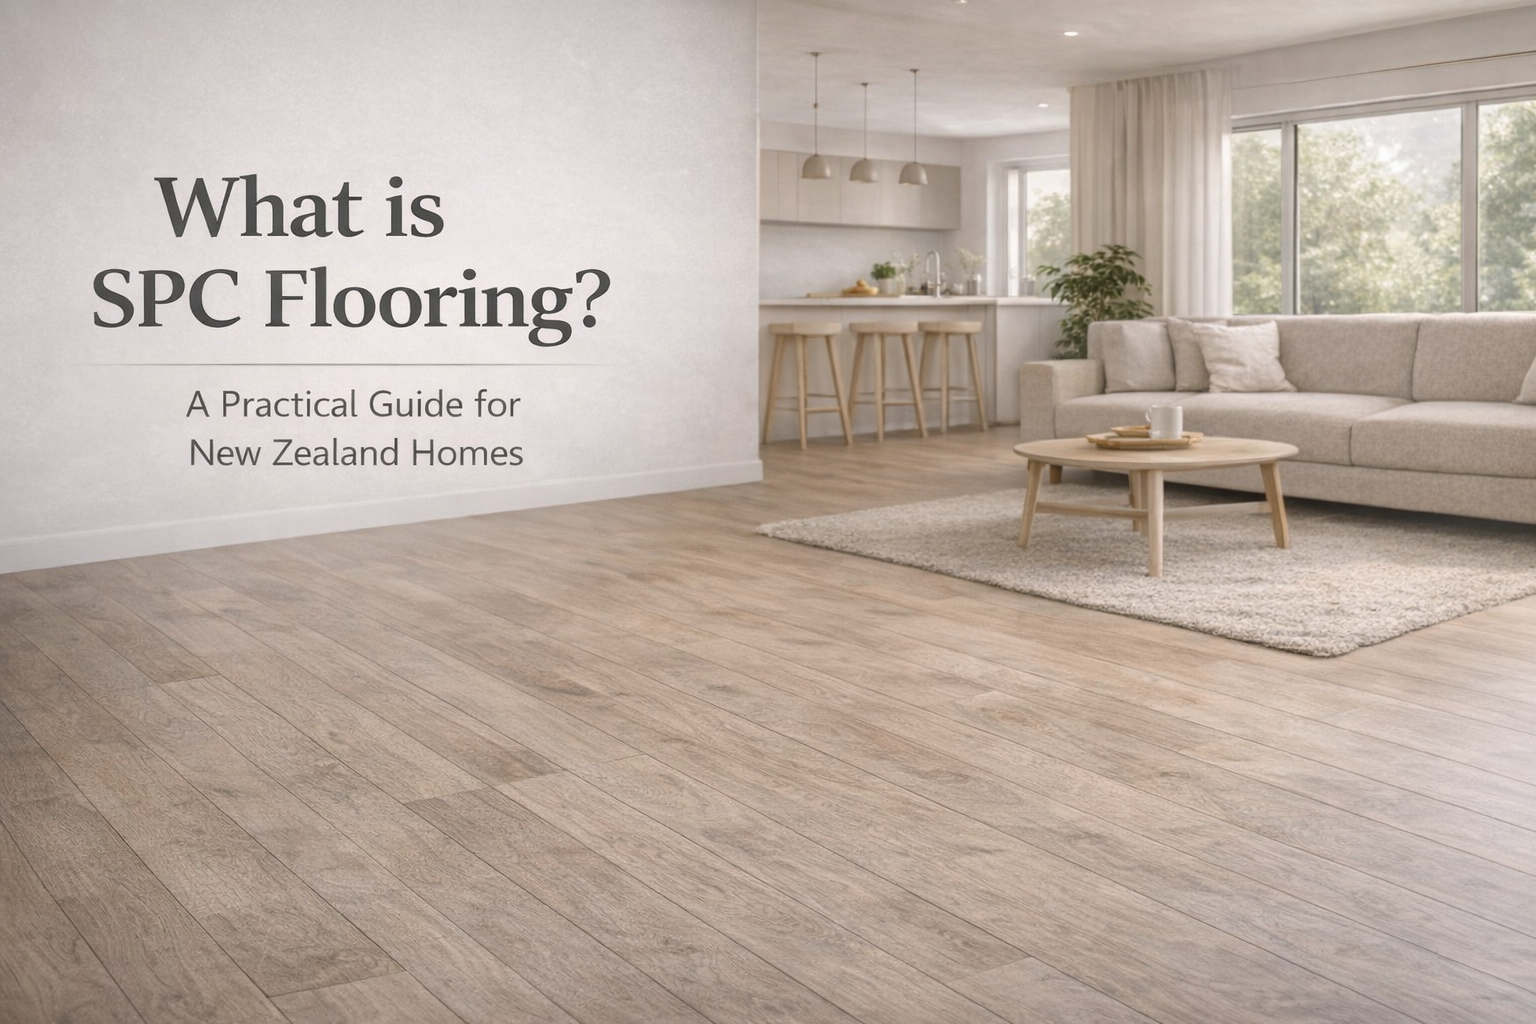
Wood flooring can lift a space like almost nothing else. They feel warm underfoot, look better with age, and add value if you get the install right. The catch is that wood is a living material. It expands and contracts with humidity, it reacts to temperature, and it shows every shortcut you take during install. That’s why small mistakes can lead to squeaks, gaps, cupping or boards that move under your feet.
There’s good news. A careful plan, a moisture meter, and a few simple checks will save you time, money, and stress. And if you’re in a home with kids, pets, or a kitchen that hums all day, engineered wood has made things easier than ever. It really is the best thing to happen to the floor since sliced wood.
Moisture testing gets skipped
Moisture drives most flooring failures. If you don’t test, you’re rolling the dice. Concrete might look dry, yet still be pushing moisture into the boards. Timber framing can hold extra moisture after heavy rain. Even within the same room, moisture can vary across the slab.
Aim for a wood moisture content that matches your home’s typical indoor conditions. In most New Zealand homes, 8 to 12 percent in the boards is a safe target. Subfloors need their own checks.
Here’s a quick guide to common targets and how to test.
| Substrate or item | Target range | How to check | Notes |
| Engineered wood boards | 8 to 12 percent MC | Pin or pinless moisture meter | Check several boards from multiple boxes |
| Solid timber boards | 8 to 11 percent MC | Pin meter for best accuracy | Give more time to acclimate |
| Timber subfloor | Within 2 to 4 percent of the boards | Moisture meter | Too big a gap leads to cupping or gaps |
| Concrete slab | < 75 percent RH or < 3.5 percent MC (surface) | RH test kit or carbide test | Use a vapour barrier with concrete installs |
If the slab is young, give it time. A 100 mm slab dries about 30 days per 25 mm in fair conditions. In winter, in Auckland, or in coastal zones, it can take longer.
Acclimation cut short
Opening the boxes and laying boards right away is a common shortcut. Boards need to reach the same temperature and humidity as the room where they’ll live. That way they don’t change size after install.
- For engineered wood, 48 to 72 hours with cartons open in the room is typical.
- For solid timber, 7 to 14 days is safer, especially with wide planks.
Keep the room at lived-in conditions during acclimation and install. That means a relative humidity between 40 and 60 percent and normal heating or cooling running. If you’re using a dehumidifier to dry plaster, wait until that phase is done before you bring the wood in.
Expansion gaps guessed
Wood needs space to move. No gap at the walls is a recipe for tenting, squeaks and mystery movement months later. Too large a gap and your skirting won’t cover.
A good rule of thumb is a 10 to 12 mm gap around all walls and fixed objects. Use spacers, not eyeballs. In big rooms above 8 metres wide, increase the gap or introduce movement breaks at doorways. For wide planks above 190 mm, be extra precise and keep room humidity steady.
Don’t forget radiator pipes, kitchen islands, and door frames. Everywhere the floor meets something fixed, the floor needs space to breathe.
The wrong product in the wrong room
Solid timber looks beautiful, but it is fussy about moisture and temperature swings. That makes it risky in kitchens, basements, and conservatories with lots of glass.
Engineered wood solves most of that. It has a real timber wear layer on top, with a multi-layer base that resists movement. You get the same look and feel as solid timber, but with more stability. That’s why you’ll see engineered planks used in kitchens, ground floors, and even on top of underfloor heating where solid timber can struggle.
Wet rooms are different again. Bathrooms with daily steam are best served by SPC or porcelain. Use thresholds to split wet areas from timber.
Subfloor prep is rushed
What’s under your flooring matters. If the subfloor isn’t flat, you’ll feel hollow spots, your joints won’t sit tight, and the finish will look wavy.
- Flatness target: within 3 mm over 2 metres in all directions.
- Concrete: grind high spots and use a self-leveller to fill low spots.
- Timber: fix squeaks, screw down loose sheets, and sand ridges at joints.
Vacuum thoroughly before underlay or glue. Even small grit under a floating floor can create tiny pressure points that telegraph through the boards.
Underlay and adhesive slip-ups
Underlay isn’t just a cushion for flooring. It impacts sound, moisture protection, and thermal performance.
- In apartments, check the body corporate specs for impact sound ratings. Acoustic underlays can make the difference between approval and a redo.
- Over concrete, a vapour barrier layer or a combination acoustic plus vapour underlay is a smart move for floating installs.
Glue-down needs the right adhesive and the right trowel. Flexible MS polymer adhesives are common with engineered boards. Follow the trowel notch size the manufacturer calls for, keep your open time in mind, and always roll the floor within the window using a 45 to 68 kg roller to bed the boards. Wipe squeeze-out immediately so it doesn’t grab dust or dull a matt finish.
Random patterns and short staggers
Opening one box at a time leads to colour bands and repeating patterns. You’ll notice it every day once it’s in.
Mix boards from three to four boxes as you lay, especially with wood flooring. Keep end joints staggered by at least 300 mm. Avoid H-joints and step patterns by varying each row’s start length. If you see two knots or heavy features lining up, swap a board while you still can.
Nailing and floating mix-ups
Engineered boards can be floated, glued, or fixed as a structural floor, depending on the product. Each path has rules.
- Floating: join the click or tongue and groove, use the specified underlay, add perimeter gaps, and install expansion trims at long runs or complex layouts.
- Glue-down: full-spread adhesive, correct trowel, rolling, and a clean workflow.
- Structural fix: for nail-down, use 38 to 50 mm cleats or staples at 150 to 200 mm centres, angled through the tongue. Pre-drill and face-fix the first and last rows, then hide with skirting or filler to match.
Check your board’s construction before you commit. A quality engineered plank with a solid timber wear layer and a real plywood base gives you options. Products with a soft core or paper backer won’t handle structural fixing.
Finish choices misunderstood
People often confuse grade with quality. Grade sets the look. Quality sets performance.
- Prime grade gives you a clean, uniform appearance with minimal knots.
- Rustic brings more character, knots, and varied grain.
- Mixed and antiqued grades add open grain, filled knots, and a timber-forward look that suits family homes.
Finishes also shift the vibe. Matt wax or matt lacquer keeps a natural, almost unfinished feel while adding protection. Brushed textures bring out the grain and hide small scratches better than high gloss.
Protect your floor during the rest of the build. Use breathable floor protection, not plastic sheets that trap moisture. Avoid steam mops and harsh cleaners on a timber finish. A pH-friendly cleaner and a microfibre pad is enough for weekly care.
Why engineered boards make installs smoother
Engineered wood blends a decorative layer of real timber with a stable core. That core can be 3-layer or multi-layer plywood. The result is less movement across the seasons and more tolerance for real life.
- Stability: cross-laminated layers counteract expansion and contraction.
- Versatility: kitchens, ground floors, conservatories, and basements are in play when moisture is managed well.
- Repairs: a 3 to 6 mm wear layer can be refreshed in the future if needed.
- Underfloor heating: many engineered planks are rated for hydronic systems up to a 27 °C surface temperature. Bring heat up and down gradually, about 2 °C per day.
Here’s a quick at-a-glance comparison for selecting the best flooring options, whether you’re renovating a home in Auckland or elsewhere.
| Flooring type | Rooms it suits | Moisture tolerance | Typical install | Notes |
| Solid timber | Bedrooms, lounges | Low to moderate | Nail-down or glue-down | Beautiful but sensitive in kitchens and glass-heavy spaces |
| Engineered wood | Most living areas, kitchens, basements | Moderate | Float, glue, or structural fix | Real timber feel with stronger stability |
| SPC | Bathrooms, laundries, rentals | High | Floating | Fully waterproof core, looks good paired with timber elsewhere |
A prep checklist most DIYers miss
Before you open a single box, tick off the basics. These steps keep the job on track and the finish consistent.
- Moisture meter on site
- Subfloor flat and clean
- Heating and ventilation set to everyday living levels
- Underlay and trims ready
- Adhesive and correct trowel, if glue-down
- Skirting and scotia planned
After your first paragraph, it helps to add a few room-by-room checks.
- Kitchen planning: fit the cabinets first, then floor to the toe kick, not under fixed cabinetry.
- Large sliders: confirm you have expansion breaks under wide door tracks and enough clearance.
- Stairs: order matching nosings early. They often have longer lead times.
- Sun-heavy rooms: use blinds or UV-filtered glass to reduce colour change.
- Apartments: get written approval on acoustic specs before install begins.
New Zealand climate quirks to account for
Humidity swings are real. Coastal homes around Auckland can sit above 65 percent RH in late summer, while crisp winter air in Canterbury can drop indoor RH below 35 percent once heating kicks in. That swing is what creates seasonal gaps.
Aim to keep your home inside a 40 to 60 percent RH band year round. A small dehumidifier in summer and a bowl of water near a heater in winter can smooth the extremes. It’s a small habit that protects your floorboards from overreacting.
Install timing during a build
Wood floors should go in after wet trades are done. That means plaster fully cured, paint dry, and tiling grout no longer pushing humidity. If your slab is fresh, use a RH test or a calcium carbide test rather than guessing.
Book the floor near the end, then fit skirting after install to hide expansion gaps cleanly. If skirting is already on, plan for scotia trims in a matching finish.
Picking boards you’ll still love in 10 years
Think about who lives in the house and how the space is used. A busy family home with dogs and kids will thank you for a textured, matt finish in a mixed or rustic grade. The open grain and small natural features hide daily wear. If you want a gallery look, Prime grade in a lighter tone keeps things calm and bright. Plank width changes the feel as much as colour. Wider boards create a more modern, airy look, but require tighter control over humidity and subfloor flatness.
If you’re weighing up solid versus engineered, remember that engineered wood looks and feels like solid timber underfoot. The difference is inside the plank. That layered construction delivers the stability that lets you put real wood in places solid timber struggles with.
A quick word on where to buy in Auckland
Locals in Auckland often ask where to find reliable stock and good advice without blowing the budget. FLOORCO has been supplying Kiwi homes with quality flooring since 2015 and draws on more than 60 years of trade and manufacturing know-how behind the scenes. The company runs a vertically integrated supply chain that starts with raw timber selection and runs right through to finishing. Cutting out middle steps helps keep costs in check.
The warehouse footprint is big, with over 1,000 products in the system and around 300,000 square metres of flooring on hand. That range spans engineered wood, SPC, and laminate, in colours and finishes that suit New Zealand light. Collections are custom milled and prefinished with careful craftsmanship. A lot of the engineered boards sit on a real hardwood plywood base, which adds to stability and keeps installs predictable. Stock on the ground means you aren’t waiting for a boat to arrive before your project can move forward.
Engineered boards fromFLOORCO carry the look of real timber with the practicality needed for family homes. Matt lacquer or matt wax finishes keep that natural, softly textured feel that pairs well with most interiors. And if you like the European-made options, those are on the racks too.
Troubleshooting a few common symptoms
Sometimes things still go sideways. You can often pin the cause without ripping up the whole room.
- Squeaks in a new floor: usually a subfloor fastener issue or insufficient flatness. Fix with screws from below if accessible, or injection adhesives in small areas.
- Gaps that close and open seasonally: normal within reason. Stabilize indoor RH, then fill persistent gaps with colour-matched filler at the driest time of year.
- Cupping across several boards: check moisture levels. Address a wet slab or leaks, increase airflow, and allow the boards to settle before sanding or repairs.
- Hollow sounds in a glue-down: missed adhesive coverage. If minor, leave. If widespread, consult an installer for targeted lifts and re-bonding.
Wood flooring rewards careful prep and a few smart choices. Moisture test. Give the boards time. Respect expansion. Choose the right product for the room. Do that, and your floor will handle daily life with style, whether that’s pets charging down the hallway or dinner parties that stretch past midnight.

Editor: Terry Shi
The founder of FLOORCO has a strong industry background and substantial supply chain resources.


