
How to Make Wood Floors Look New Again
There’s something special about walking into a home with gleaming wood floors. Whether your place is graced with old native timber, prime-grade engineered planks, or that rustic, mixed-character look, caring for your floors means protecting both beauty and value. But over time, wood floors can start to look tired. Scratches, dullness, patches of wear—these things creep in, especially in busy Kiwi family homes with plenty of foot traffic.
The good news? Restoring your wooden floors to their best doesn’t require a full sand and polish every time. With the right approach and a few products, you can refresh the look, feel, and even longevity of your timber or engineered flooring. Here’s how to breathe new life into your wood floors and why it’s worth investing the effort.
Why Engineered Wood Gets the Nod
First off, a little background helps. In New Zealand, solid wood flooring had pride of place for decades. But engineered flooring has changed the game. It features a surface layer of real timber, supported by layered wood or composite materials underneath. That means better stability across our variable climate (from the humid north to drier southern regions) and less warping and movement. You can also install it in tricky spots like kitchens, basements and sunrooms — places where traditional boards might be at risk.
Modern engineered floors, like those from Floorco‘s Auckland warehouse, come pre-finished with durable hardwood floors and are often ready for heavy use. That top hardwood “wear layer”looks just like solid timber, and you’ll find a choice of surface finishes from natural matt wax to classic lacquered shines. These finishes both protect the grain and create visual impact.
Still, even the toughest engineered flooring requires regular maintenance and deep cleaning to look its best.
1. Start with a Deep Clean
Before thinking about big jobs, give your floors a proper deep cleaning, as refinishing can often follow a thorough clean. It’s easy to underestimate how much difference this can make.
- Sweep or vacuum: Daily if you can. Dirt, grit and sand are the enemy of timber (they create micro-scratches and kill the shine).
- Damp mop: Use a microfibre mop with a cleaner designed for wooden floors, adding a small amount of vinegar to enhance the cleaning process. Avoid lots of water—wood hates being mopped with a bucketful of suds.
- Spot clean: Wipe up anything sticky or spilled straight away, especially in kitchens or dining zones.
If your floors were finished with wax or oil rather than lacquer, use a cleaning product that won’t strip out protective coatings.
2. Buff Out Minor Scratches
Even premium hardwood isn’t immune to marks and stains. Watch for scratches where chairs get dragged, in hallways, or around entrances.
Some fixes:
- For shallow marks, try a timber repair marker in a matching colour.
- For more visible scrapes, a wood touch-up kit (including filler and a blending tool) works wonders.
- For floors with a matt finish, a special wax stick can help fill and hide deeper grooves.
And here’s a tip from the trade: always work in the direction of the grain when using any filler or marker.
3. Restore the Shine with Polish
Over time, even the sturdiest polyurethane or lacquer loses its gloss, which is where buffing can help bring back the shine. A well-chosen polish can restore that like-new glow.
- Choose a polish suitable for your specific flooring finish (look for water-based for lacquered surfaces or oil-based for oiled/waxed floors).
- Apply with a clean mop or applicator, keeping it thin and even.
- Let each section dry thoroughly before walking on it.
Buffing and polishing don’t just boost shine—they also add a protective layer that helps resist new marks.
Product Comparison Table
| Floor Type | Best Cleaning Method | Polish/Wax Suitable | Notes |
| Solid Hardwood | Damp mop, pH-neutral soap | Water-based polish | Can be sanded fully if needed |
| Engineered Wood (Lacquer) | Damp mop, wood cleaner | Water-based polish | Surface layer only, don’t overwet |
| Engineered Wood (Waxed) | Dry mop or timber soap | Natural oil/wax | Occasional re-oiling recommended |
| Laminate | Damp mop, laminate cleaner | No polish/wax needed | Never refinish, replace when worn out |
4. Dealing with Dents and Dings
Not all damage is superficial. You might find the odd dent from dropped objects, or a board edge that’s splintered. Short of replacing the board, there are a couple of solutions:
- For dents, sometimes a hot, damp tea towel placed over the area—then pressed lightly with an iron—can swell the compressed wood fibres.
- Edge splinters? Sand them smooth and seal with a dab of timber finish.
- For deep gouges, a professional repair with resin filler is best.
5. Rethink Your Furniture and Rugs
A big part of protecting those “new floor” looks, especially with hardwood floors, is about prevention.
- Pop felt pads on chair legs and heavy furniture.
- Use rugs or mats in high-wear areas—think entryways or under the dining table.
- Avoid rubber-based mats, which can mark or get sticky in New Zealand’s temperature swings.
6. Refresh Worn Timber with a Quick Recoat
Got more extensive dull patches or traffic lanes? Many pre-finished engineered wood floors can be revitalised with a “recoat” system. This doesn’t mean sanding back to bare timber, but instead involves:
- Thorough deep cleaning and abrasion with a specialist pad or fine sandpaper (to ensure new finish bonds)
- Application of a compatible refresher lacquer
It’s worth checking your manufacturer’s recommendations or talking to a professional—using the wrong product on engineered flooring can cause issues.
Ongoing Maintenance: The Kiwi Routine
Here’s a simple plan for keeping your floors looking tip-top, whether you live in Auckland, Wellington, or on the South Island:
Weekly
- Quick sweep or vacuum (with a soft-brush head)
- Mop with a damp (not wet) microfibre pad, optionally adding some vinegar for extra cleaning power
Monthly
- Look over the surface for scratches and touch up as required
- Check high-wear zones for fading finish
Annually
- Consider a professional deep cleaning, buffing, and polish, especially if your home sees a lot of guests or pets
- Move heavy furniture and check for hidden marks, stains, or wear
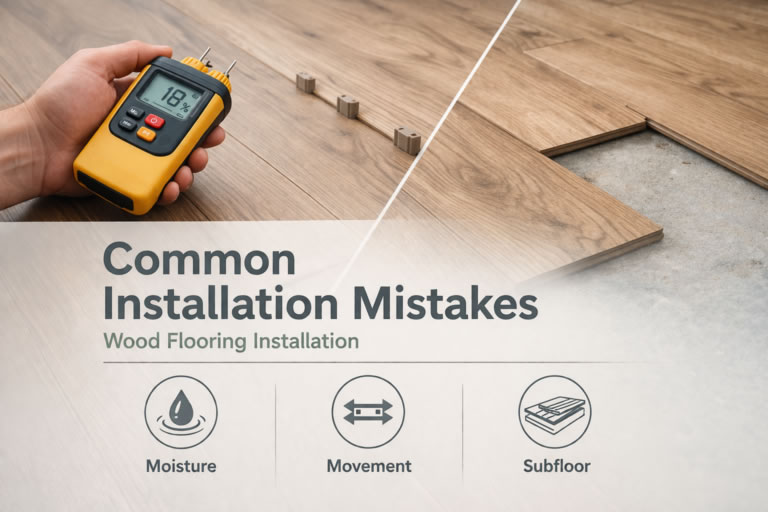
What About Water Damage and Kiwi Conditions?
Aotearoa’s climate can challenge the best hardwood floors. From steamy kitchens to damp ground floors in older houses, wood reacts to moisture.
For modern engineered planks, the multi-layer construction adds real protection against expansion, stains, cupping or gaps. Still, pooling water is never a good idea. Mop up spills straight away, particularly with kids and pets around.
If your home gets a lot of sun, remember that UV rays can fade timber over time. Rotating rugs and using curtains or blinds in strong light will help preserve the colour.
Why Floor Quality Makes All the Difference
With so many flooring products on the market, buying wisely pays off. Floorco’s reputation in the Auckland scene comes from supplying timber sourced for durability and good looks. Here’s why their engineered range stands out:
- Stability All Year: Multi-layer construction means less movement with temperature swings.
- Finishing Choices: From ultra-matt for a raw, natural vibe to classic, high-wear lacquer.
- Versatility: Planks can go where solid wood can’t—think kitchens, basements, or over underfloor heating.
- Quick Installation: Pre-finished boards save on-site mess and time.
And unlike cheap laminates or faux-wood options, real timber adds value and character that buyers notice.
Comparing Solid vs Engineered Boards
It’s easy to get caught between choosing the ‘real deal’ or engineered. Here’s a quick rundown of the key differences for Kiwi homes:
| Feature | Solid Timber Floor | Engineered Wood Floor |
| Structure | Single timber block | Top timber layer + core |
| Can sand & refinish? | Several times | 1-2 times (wear layer) |
| Stability (moisture/heat) | Lower | Higher |
| Cost | Usually higher | More affordable |
| DIY friendly? | Difficult | Easier |
| Areas for use | Dry only | Wet/humid OK |
No matter which you’ve got, the same principles apply: regular care, including deep cleaning to remove stains, beats crisis fixes.
The Small Things Add Up
It’s the routines that keep your floors glowing. Even a quick sweep every evening prevents micro-scratches. Keeping gumboots, heels and pet claws in check goes miles in preventing stains and preserving the floor’s appearance. With engineered floors, that top layer of superb NZ or European hardwood is both what people see and what takes the hits, so protecting the finish is key.
And when you do want to really turn heads, a pro-level buffing and recoat can add years of life—without the cost or dust of a total refinishing or resand.
Products and Solutions to Consider
Plenty of products, including gentle solutions like vinegar, are formulated specifically for wood and engineered floors. Here’s what’s worth having in the cupboard:
- pH-neutral timber cleaner
- Soft-brush vacuum head
- Microfibre mops
- Felt pads for furniture
- Timber polish (check compatibility)
- Scratch repair sticks
If you’re feeling out of your depth or have a tricky patch, don’t hesitate to get a flooring specialist in for advice. Sometimes, small fixes done early prevent bigger repairs later.
Kiwi Homes, Kiwi Flooring
Few surfaces in your house work as hard, or set the tone for your living space, as much as hardwood floors and timber floors. Whether it’s oak, walnut, or a New Zealand native, keeping it looking fresh pays off every time you invite someone in—or sit back yourself with a cuppa.
And with today’s engineered flooring, especially from reputable outfits like Floorco, it’s never mattered more: high-traffic family homes, rental properties that need to stand up to wear, or renovation projects where genuine character counts. A few cherished routines and the occasional TLC can give your floors decades of life, with timeless good looks to match.

Editor: Terry Shi
The founder of FLOORCO, with a strong industry background and substantial supply chain resources.


